Thursday, May 29, 2014

Please welcome Fabric Spot!

.  


Everybody knows how much I love fabric and I am most delighted to welcome Fabric Spot as a sponsor on my blog.  Fabric Spot is a family run online Canadian fabric shop based in Toronto, Ontario.  Fabric Spot specializes in modern designer fabrics and patterns. And do you know that they offer free shipping on orders over $100?  Karen also stocks large selection of modern organic fabrics... apparently Canada's largest selection of modern organics.  Just saying.

Here is what sends me into happy land.  Karen has a lot of solids (Kona, Free Spirit Designer solids, Birch Organic solids are coming and she carries Essex Linen in a lot of different colours. She also stocks 12 different colours of Sketch basics.  Karen stocks some great basics including dots and gingham.  I do like to keep my basic stash builders stocked and Karen has basics!

PP FQB in Princess Colourway


I love the new Anna Maria Horner line too...  Pretty Potent.  Just so lovely!

The minimum cut is a fat quarter and Karen also has a great assortment of pre-cuts including charms packs, jelly rolls, layer cakes and hexagons.  

Have fun checking out all the fabric goodness!  Don't forget to check out the sale section and also look at all the wonderful stuff that will be coming!  Cotton and Steel, people!   Free shipping over $100 and great customer service! 


Tuesday, May 27, 2014

4 S Swap received!


I received an awesome and amazingly wonderful swap package from Pam.  Pam has been my swap partner before and I feel very, very lucky to be the recipient of this wonderful package of goodness!  The fabric bucket is seriously awesome with all the Heather Ross Mendocino!  And the goodies!  Eep!  so much fun!
Look at all the Heather Ross fabric!!!!!  Charms and strips and bits.  And a gorgeous wee mug rug with Denyse Scmidt fabrics to boot!  Happy!


Monday, May 26, 2014

Warp and Weft Sewing Society Project... just a little bit zippy!


 I wanted to make a yet another zippy pouch to demonstrate some zipper tricks and hints for my quilt guild people.  I just happened to have the perfect fat quarter of Aneela Hooey's Sew Stitchy fabric from Warp and Weft.  So here is a little Warp and Weft Sewing Society project.


Then I had a little bit of fabric left over so I made a needlebook to go along with it because I just love making needle books.  I used this tutorial for the needlebook.  


Pouch:

1 zipper... at least 14"
2-2" by 3" scraps for the zipper tabs.  I used some of the black dot from Lotta Jansdotter's Sylvia line also at Warp and Weft.

Prepare zipper as in my tips and hints from yesterday.

I used for the body of the pouch:

2-2" by 12" linen
2-4" by 12" Sew Stitchy
2-12" by 5" linen

Lining:
2-12" by 10" Sew Stitchy

Batting:
2-12" by 10"

Piece the main body fabrics and sandwich with batting.  Quilt as desired.  Make the pouch and enjoy!


Sunday, May 25, 2014

Zippy Pouches.... tips and hints


The Fraser Valley Modern Quilt Guild is swapping zippy pouches with the Victoria Modern Quilt Guild These are just a few little zippy pouch tricks that I use when making a pouch.  I typically make zipper tabs for each end of the zipper.  These ones are 2 pieces of fabric cut 2" by 3".  The ends are turned under and pressed and then folded in half.  I cut the ends off the zipper, including the metal zipper stops.  Be careful not to wreck your zipper at this point with pulling the zipper pull off the end.  (I have done this before and it did not make me happy!) Once the zipper is trimmed, one end at a time, place the zipper tab over the end and stitch.  2 rows of stitching is nice.  Then trim the tab to line up with the edge of the zipper tape.  The length of your zipper dictates how big your pouch fabric pieces are.  I tend to prepare the zipper and then cut the fabric for the pouch.  This particular zipper with tabs is 12" long.


This next step is difficult to photograph but this step cuts down on the bulk in the side seam and corners.  Squidge the zipper tape out of the trimmed tab and trim the zipper tape and teeth close to the stitching lines.  That little bit of zipper sticking out gets trimmed off.


This is the prepared zipper and all the bits I trimmed off the zipper and zipper tabs.


I always sew a stitching line with my pouch main body and without the lining.  This stitching line gives you a guide to stitch the zipper sandwich together.  I NEVER use a zipper foot but stitch along until I need to move the zipper pull out of the way by raising the pressure foot.  


This is the completed pouch before stitching the side seams.  The lining is sewn down with the zipper and the pouch is ready for the zipper top stitching.  See how the zipper tabs look?


Before sewing the side seams, you want to make sure you line up the seam on the front and the back of the pouch and you need to pinch the zipper tabs like I am doing in the photo.  I have pushed and pinched the zipper tab towards the main body of the pouch and pinned securely before stitching.  Stitch the side seams and the bottom of the pouch and lining, leaving your turning opening in the lining bottom.  I boxed the corners of this pouch just for fun.  Turn your pouch, check the corners, poking out the zipper tabs nicely.


Pretty corners and I will show off the finished pouch tomorrow!

Wednesday, May 21, 2014

Really Random Thursday...


How awesome is that for a fabric nut?  I ordered some Essex linen and some more Timeless Treasures white on black stripe and when the order arrived, I noticed this sticker!  I scored about half a yard of extra linen for free!!  Happy dance!


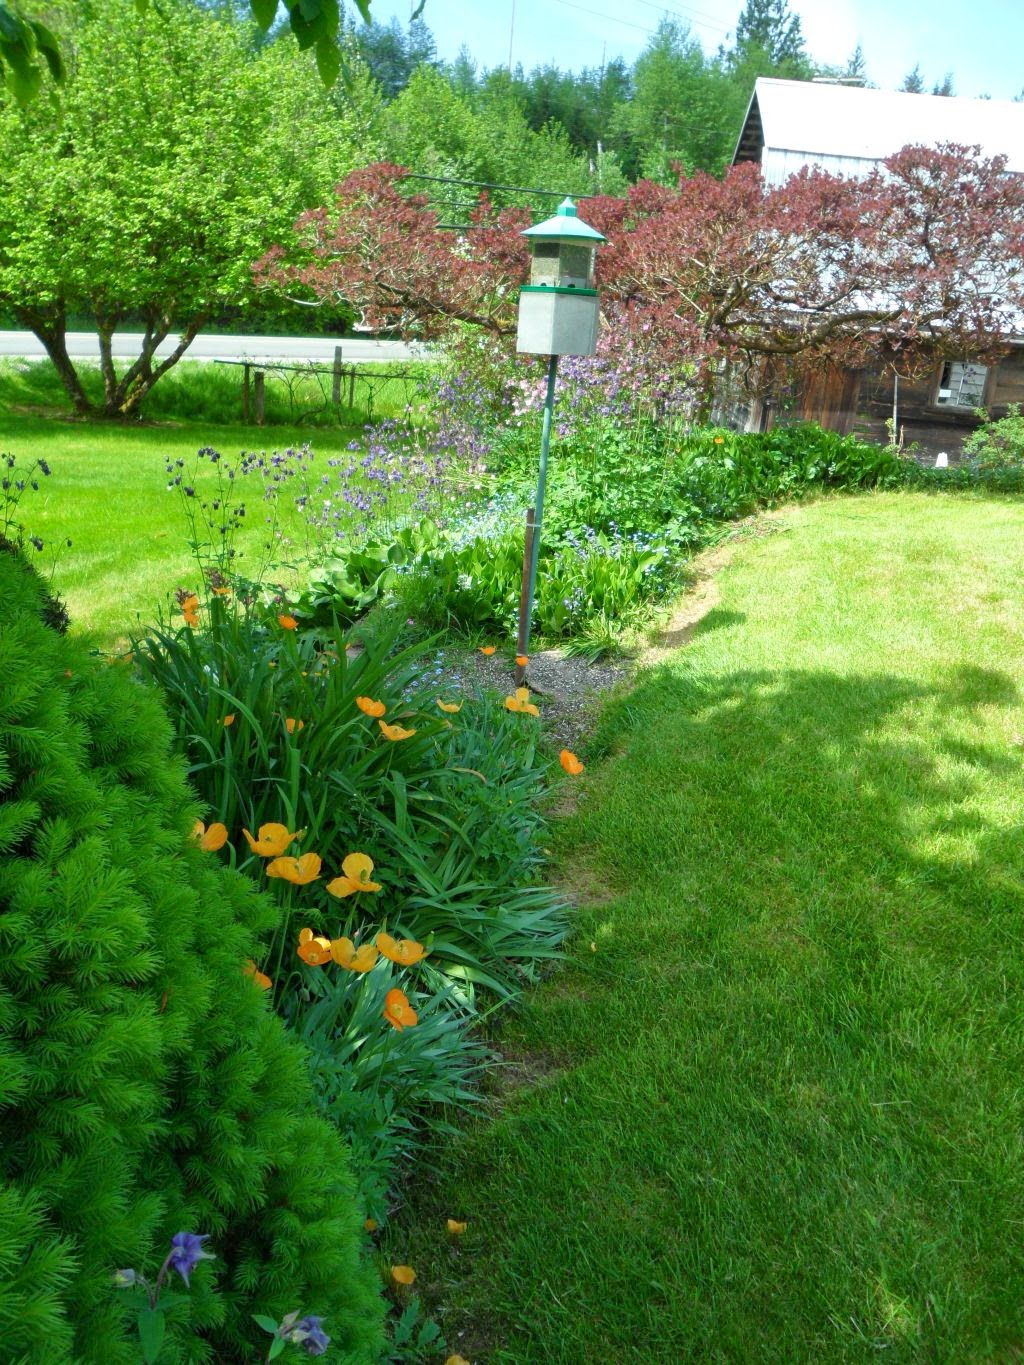
The flowers are blooming everywhere in the yard but with the flowers come the weeds.  I did a lot of weeding last weekend.  Husband took a picture of me.  That is me stuffed into the plant matter with a wheel barrow beside me.  I was on a search and destroy mission with buttercups as my target.  I am sure that there must be a use for buttercups.  The chickens won't eat them.  Nope.  I was telling my buddy Cynthia that there must be a use for them.  Somebody out there needs to find a way to make quilt batting out of buttercup fiber.  I have a ready supply!  


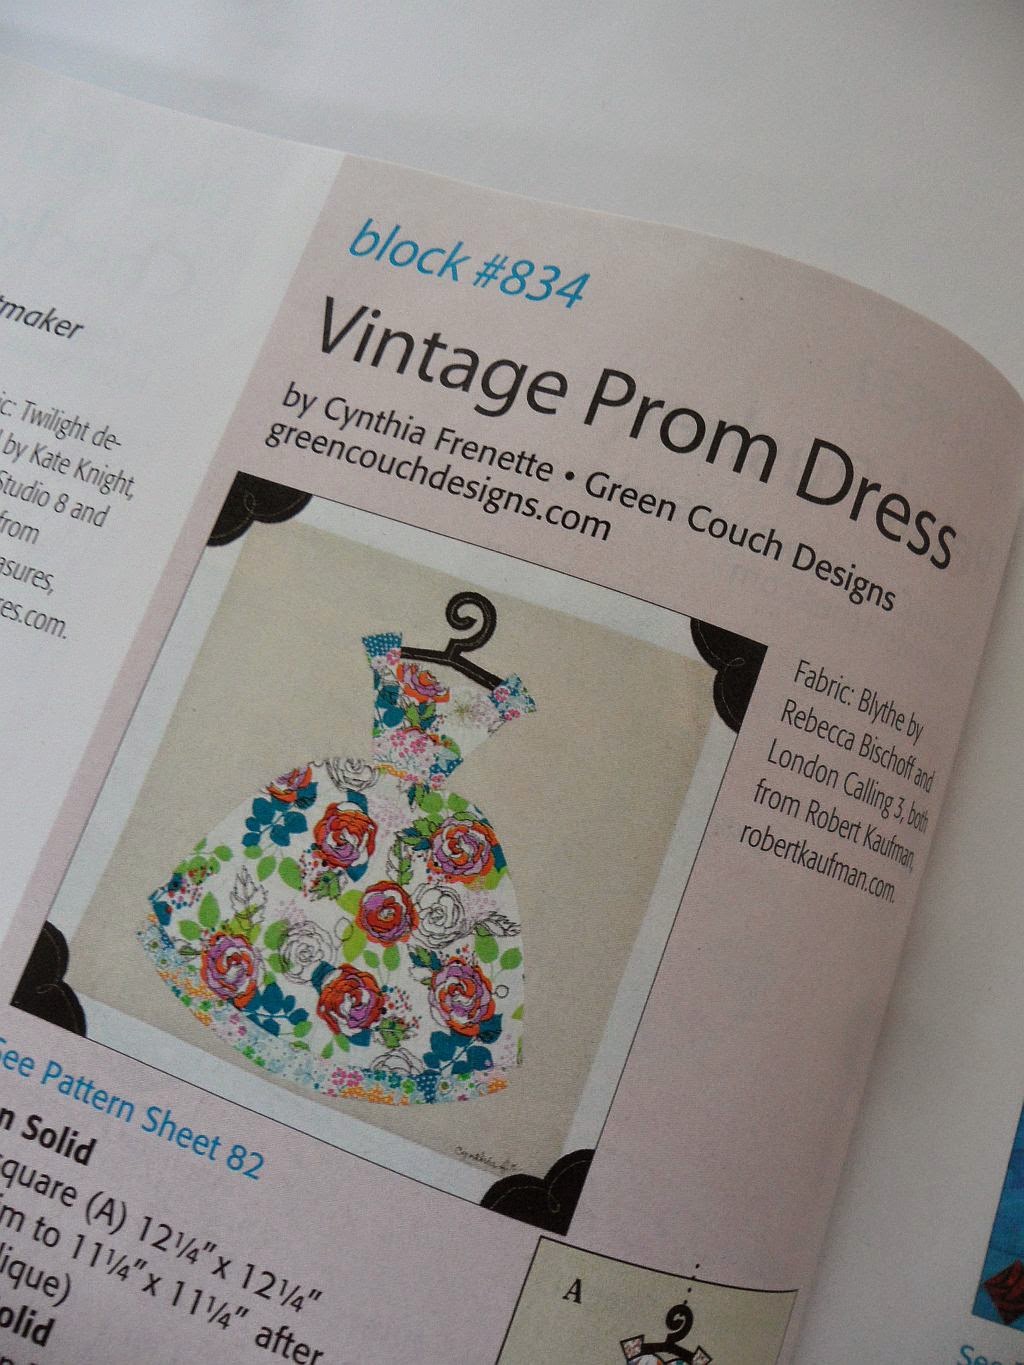
Speaking of Cynthia.. 2 things... she has a block in the most recent Quiltmaker's 100 Blocks.  There it is.  Block #834.  I got her to sign the page.  She is so famous.  Cynthia is also the brilliant publisher of an online magazine called Made In Magazine.  Check it out.  It is quite amazing.


And look where we have flowers growing... in the crook of this apple tree.  Nature finds a way.  Nice little Jurassic Park quote to finish off Random Thursday.  Linking up with Cindy and the Randomeers!


Tuesday, May 20, 2014

Work in Progress Wednesday


I must confess to being behind in my Lucky Stars BOM.  This weekend I got busy with the April block.  It caused me to grind my teeth and stomp a bit.  I actually contemplated tossing the whole mess and saying take that April block.  But instead, I put it aside and went outside and declared war on more buttercups in my flower beds.  Stinking buttercups!  Then I went back to April.  It was much less frustrating and while not perfect, it is now a finished block.  May isn't over yet so I still have time to tackle the May block.  I recommend buttercup pulling when you have quilting struggles.  Everything seems so much better after you have filled a wheel barrow with weeds.


The other thing I did this past weekend was make another zippy pouch.  Our guild is swapping with the Victoria Modern Quilt Guild and they signed up 22 members for the pouch swap and we signed up 21 members.  I made an extra pouch.  It turned out quite nicely.  Lovely Essex linen and some text squares.  Once you nail the zipper techniques, pouches are fun and fast.  I like to use zipper tabs at the ends for a neat finish and I never use a zipper foot.  I just lift the pressure foot and move the zipper tab out of the way and then keep going.  I boxed the corners on these ones so they stand up.  


And a buttercup free picture of the poppies opening up!  Linking up with Lee at Freshly Pieced for Work in Progress Wednesday!

Sunday, May 18, 2014

Winner winner chicken dinner!


Thank you to everyone who took the time to enter my giveaway.  I had visitors from as far flung as Australia, Israel, Indonesia, the UK and all points around the United States and Canada!  Just so wonderful.  Welcome to all my new followers!  With 761 comments, I was not able to answer everyone but I appreciated each comment!  I have to say that there were tons of no reply bloggers too.  Erg.  Check your settings people, or leave your email attached to your profile.

And without any further commentary from me, let's get to the good stuff and find a winner for this pile of stuff...  Number 601...
 Kathy HMay 14, 2014 at 11:20 AM
i live about an hour from Philadelphia, Pa.


and I will send you an email, Kathy!  And then I will pop this in the mail!  Thanks everyone!