
Step One: Wonky Star preparation
Cut your scraps into 4”squares. You will need a lot of them if you are going to make a big quilt. Mine will measure about 70" x 70".
Cut your background fabric into 4” squares as well. I used white and used a ton. At least 3 yards.
For every star you will need 5 of the print squares. Leave one square whole and cut 4 of the matching squares on the diagonal yielding 8 triangles.

Step 2: Wonky Star construction
Take one background square and place one triangle in the most wonky way possible as in the above photos. My wonky may be different from your wonky and that is just fine. Let your inner wonky shine!

Stitch with a quarter inch seam. You can do it!!
Trim your little leftover corner. I use scissors because I "trim as I go" right at the machine.


Finger press the wonky little star point.

Then place your next point in true wonky fashion. Then stitch.

Trim the corners here as well. Make all 4 of your wonky star points in the same manner but let each be their own wonky individual self. The point is that the points do not have to be matching.

This is what the mess looks like in mid-construction. Note the piles of points and the piles of corners that have been trimmed.

Time to press! I press the first one and then pile the next on top, lining up the corners and pressing in a pile until I have all four of the points in a neat and tidy pressed pile. You might like to be more quilt professional and less quilt lazy but I like to get this part done as quickly as possible.
Take a minute and admire the view outside your window. This is mine. Sigh.


Take your neat and tidy, pressed pile to the cutting mat and trim all 4 of the point blocks into perfect 4” squares again. Discard your trimmings.
Random shot of waste basket filling up with wonky star point corners.


Take your four star point squares and your matching print square and place your newly completed wonky star into the mix. Note how the stars are all imbedded or nested? This is one project where you need to build your quilt as you go. It is best to start in the middle of the design wall and build outwards. I used a combination of a small design wall and then the design bed (a.k.a. the spare bed in the guest room). You will notice as you build the quilt layout that you also get a cool little pinwheel thing happening between the stars with your background fabric. How excellent!

Once you are happy with the layout and have checked for colour placement and proximity, start sewing your squares together by rows. Pick your squares up from left to right, keeping the squares aligned correctly for ease of sewing. Once you have sewed and pressed the rows together, pop it back in place checking all your points for alignment.
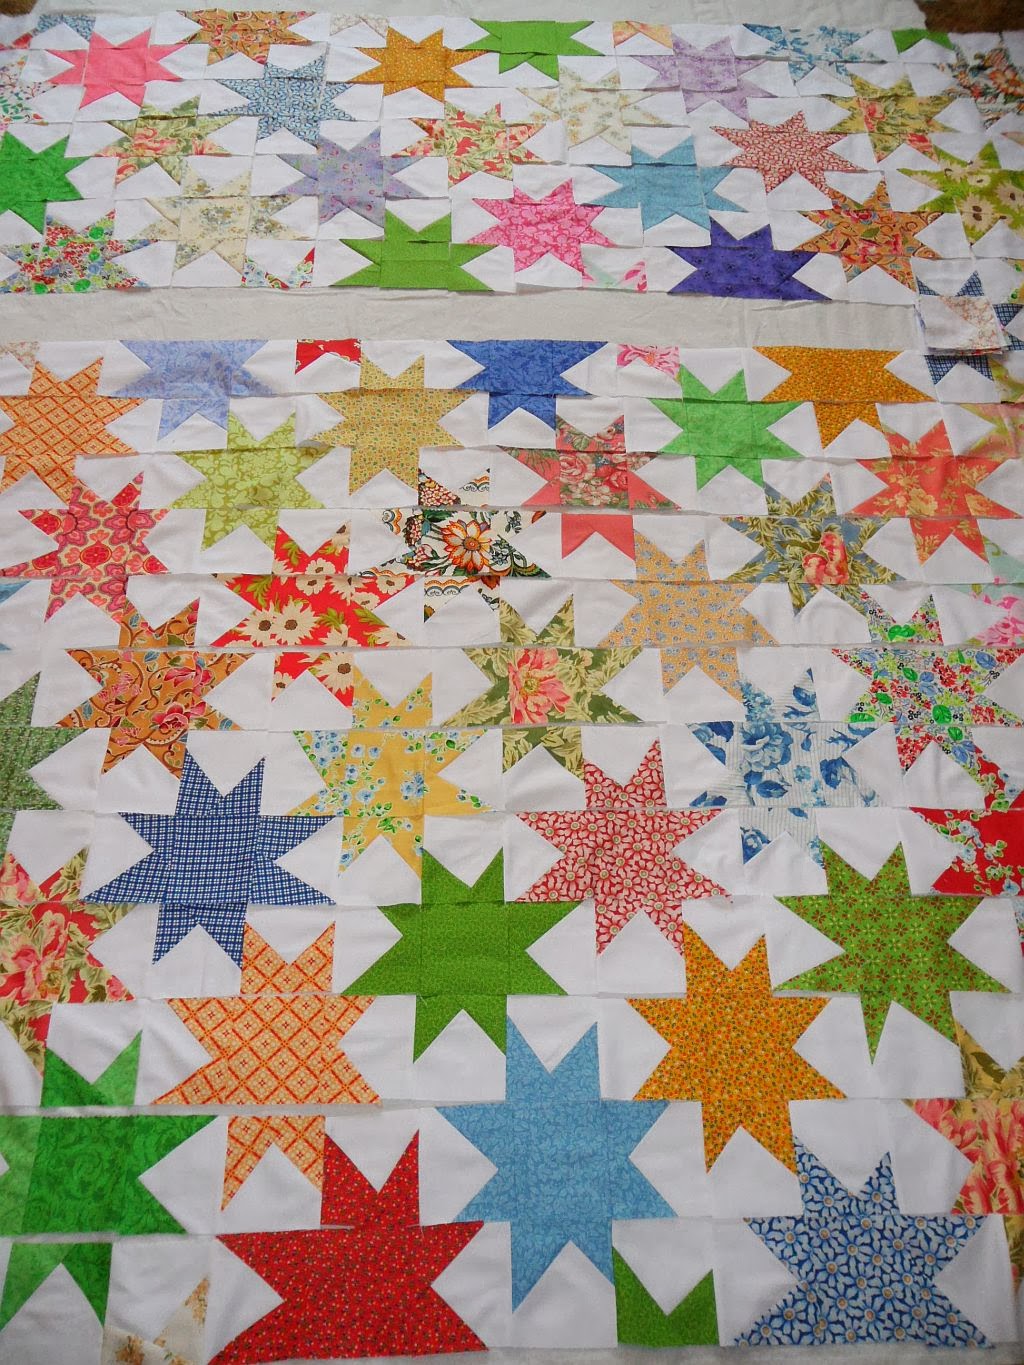
Once all the rows are completed, then sew the rows together. Pin at each seam so your seams match up carefully. Again, always check to makes sure your stars are lined up nicely.
Sandwich, quilt, bind and enjoy! Mine is just at quilt top stage but I have a lot of people asking if this is a pattern so I wanted to get this out there! I will have a picture of the finished quilt to show by the weekend since I am now back at work!
your quilt is dancing with star-eee bright colors!
ReplyDeletehugZ,
annie
anniesrubyslipperz.com
really have to try this one once things die down a bit around here!
ReplyDeleteI love this! I've been seeing these quilts pop up a lot lately and I really, really like them! Somehow I never noticed the pinwheel effect!
ReplyDeleteI love this tutorial! You have inspired me!
ReplyDeleteI have been searching the internet for a wonky star tutorial, and by chance, I stumbled onto yours today! This is an excellent tutorial. Thank you for sharing it with us :)
ReplyDeleteLove your quilt top so far - it's fantastic! Might just become my new leader/ender project....
ReplyDeleteLove your quilt so far - it's fantastic! A great leader/ender choice. Thank you for sharing.
ReplyDeleteHi! I'm attempting to create a king size solids version of this! I blogged about my progress today. It's sllllloooooow going!! http://www.couplemorehours.com/2013/11/im-over-ambitious-quilter.html
ReplyDelete